

Helldivers 2 is a hard game. No matter how ready you think you are, you’re going to need to play the game carefully. The slightest slip up can ruin your life, force you to leave behind important gear, and start over. That’s why it’s important to be ready for every mission, and with this guide to the game, you’ll be liberating planets in the name of democracy in no time.
Table of Contents
Call in Weapons and Ammo Wisely
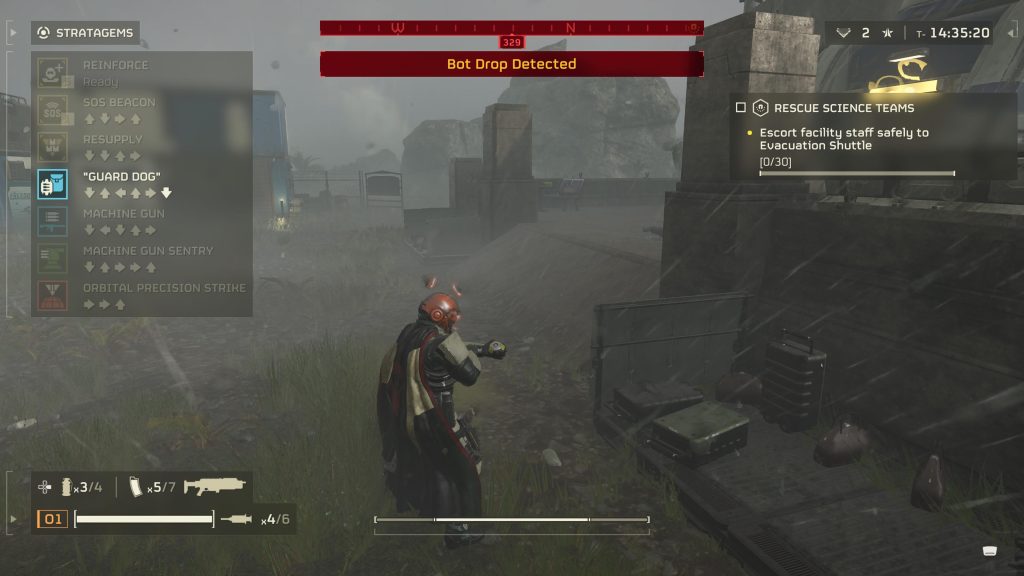
Resources are precious in this game, and with that, you’re going to want to have as much of everything you need as you can. Unless you have some armor sets that provide you with a bit more initial ammunition upon starting a mission, you’re going to start off a little empty. Since every stratagem takes time to cool down, it’s more advisable to regulate your usage of the resupply over the level when you’re down to one or two spare magazines at most.
Something that’s really easy to forget is how you lose every unused bullet in a magazine when you reload, so if you accidentally do so, quickly switching to your sidearm could stop you from wasting precious ammo. While resupplies are available, keeping yourself aware of landmarks and areas that provide ammo will be sure to keep you from having to call in stratagems all the time.
There are a few stratagems that provide support weapons such as powerful machine guns, and since the ones that aren’t single-use items reload on the same ammo type as every other weapon, it’s advisable to deploy these as soon as you land so that you don’t need to call it in later. These weapons drop on death, so if you can remember where you dropped it upon death and it’s safe, it’s best to make a run back to it so you don’t need to waste a precious call from above for it.
Speaking of weapons, you’re going to want to equip yourself accordingly. If you’re fighting bots, if you don’t trust your ability to land all of a submachine gun’s shots, a marksman rifle could do well when you’re going for precision against bots. If you’re able to maneuver properly, landing quick bursts of the SMG works too against large hordes. You have to adjust your playstyle to each weapon, and without knowledge of who you’re up against, you might just have equipped the wrong weapon for the mission by accident.
Have Support
Support doesn’t just apply to human teammates. You can have sentry turrets and drones guarding you at any given moment, and these guys are some of the most useful support tools in any given game. Every mission involves waiting for extraction, and having extra guns behind you defending against the waves of enemies will be sure to provide the exact amount of extra support that you need. Provid
It’s possible to build an entire loadout for one person around these support turrets and drones if you have squadmates backing you up in other areas like destruction and weaponry, so if you have that coordination, having a lot of tools will be useful. It is important to note that having a support drone firing lasers or bullets will prevent you from being able to equip other stuff like the extremely useful jump pack, which will be touched upon later.
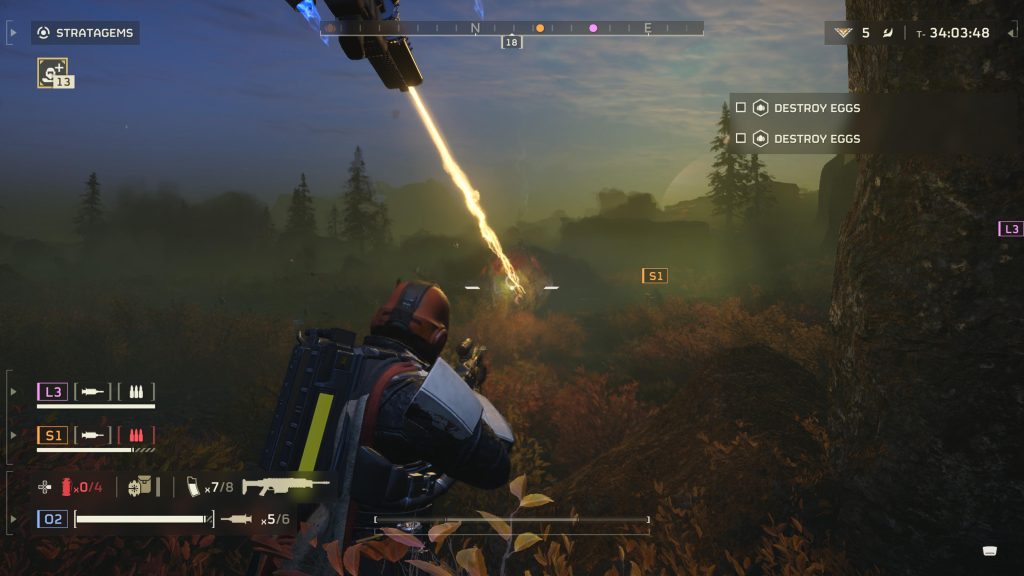
Utilize Everything
Despite the great variety in locations, something consistent is the presence of high ground. When you’re about to get swarmed, quickly checking the map and looking for any spots with ammo would be sure to help keep you from becoming minced meat. Keeping yourself aware of any potential blockages behind you can help if you’re forced on the defensive from the swarms that come for you, and making sure you don’t run into a mountain and get cornered is bound to help in many situations.
As mentioned, jump packs are available to use, and work in a surprising number of situations. One of the most difficult enemies to kill is the charger from the bugs’ side of the war, and with the jump pack, you can get over it safely and land a lot of necessary shots to its weak points. Using the jump pack isn’t essential, but it definitely helps a lot, especially if you want to get a good vantage point. There was a “kill all enemies” mission I participated in, and landing right on top of a rock that you couldn’t easily access kept me from getting hit at all, and let me just toss sentry turrets safely.
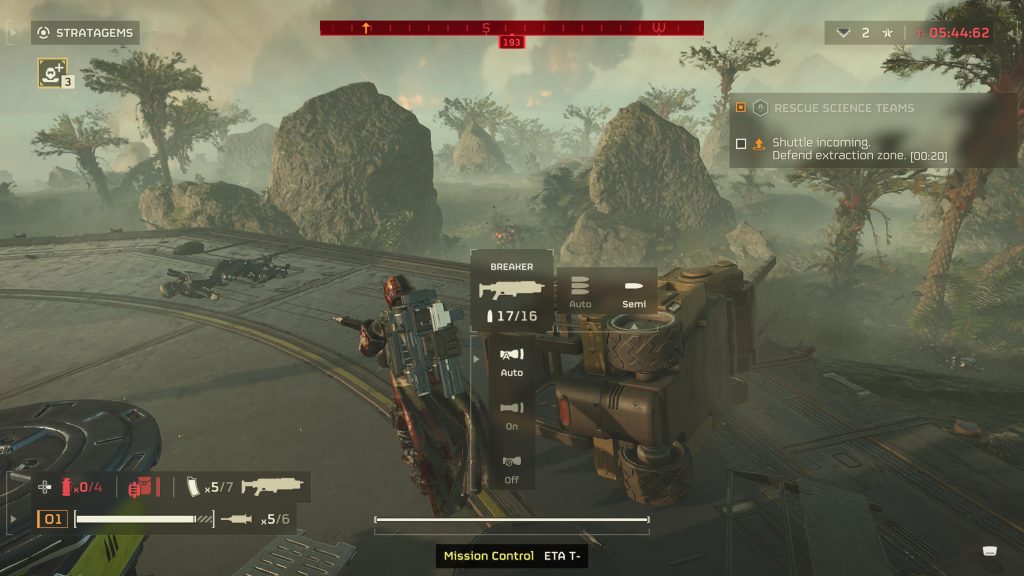
Another rather useful thing is a bar that pops up by holding a button (square on PS5) to edit a bit of your weapon, like whether or not it uses semi-automatic or automatic shots. Double tapping the crouch button to perform a dive can also help you evade potentially lethal rockets or bug charges. Ensuring that you utilize every tool you have available to you will help make sure that you don’t get swarmed too quickly.
No Planet is Liberated Alone
While it is possible to make your way through the game solo, it’s best to play with others to not only experience this game as intended, but to make sure you survive. For every additional person in your squad, you get five more reinforcements, and even then, you get to utilize more team tools. Resupplies can go for up to four players, so you don’t have to become selfish and potentially waste the parts of the resupply you don’t need.
Communication is thankfully really helpful and simple in Helldivers 2, ason PS5, you can take your time crafting out a plan using a text chat, or using a communications wheel that has enough instructions that all your bases will be covered. Communicating makes sure you don’t accidentally do something like blow up your team with an airstrike called in. Being aware of what your teammates are doing and adjusting accordingly with them is a prime recipe for success.
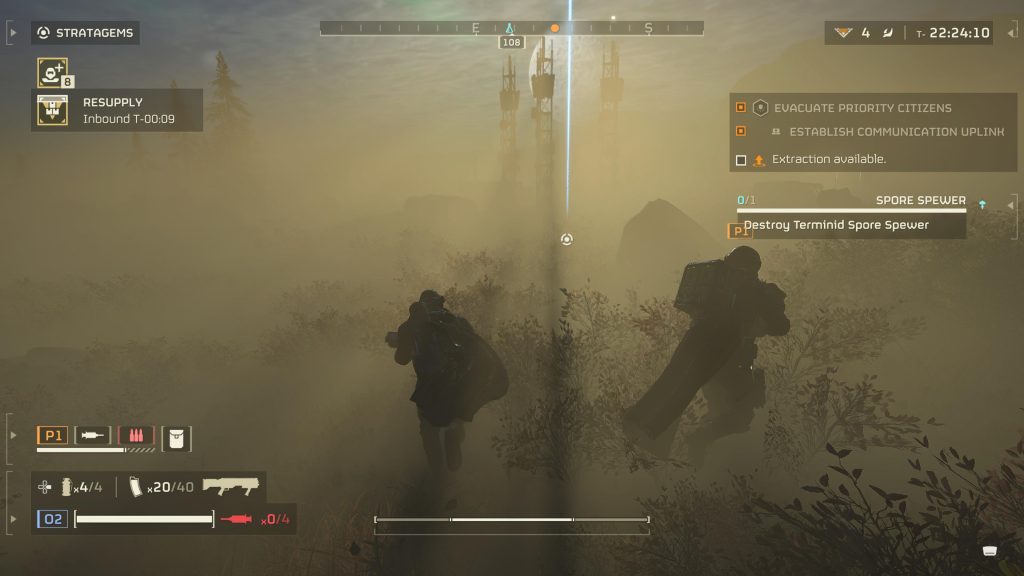
Prioritize Properly
While you don’t have to do every single one, it absolutely helps doing stuff like eliminating nests you encounter, or fulfilling a short data upload. Progression isn’t fast, and it has to be earned through completing more objectives and missions on harder difficulties. The more main missions in a set you complete, the more medals you earn, which then allow you to unlock things from emotes, to guns and pieces of armor. Don’t be in a rush to get to the extraction point once you finish your objective, as taking out nests and doing other things provides valuable experience points.
That said, choose your objective and landing zone well as you have to go in with a clear plan. Landing a bit farther off but closer to a side objective can help you get that out of the way immediately, but you’d also need to prepare in case you’re landing in an area filled with enemies. Unless you’re confident in your running and gunning skills, it’s best to steer clear to set up your weapons and gear first.
Conclusion
A game like this practically demands either deep knowledge of the game’s mechanics and level design, or a good team that knows what they’re doing. Communicating with your squad, making sure you both have and are conserving the right equipment and prioritizing the right things are essential assets in making sure liberating democracy is as easy as it sounds.